

Boosting Spring Boot Performance with Apache Ignite Caching
Supercharge Your Spring Boot Applications: Leveraging the Power of Apache Ignite Caching


Introduction
Welcome to our blog dedicated to delving into the dynamic partnership of Spring Boot and Apache Ignite Caching, a potent combination that may boost the speed of your application to new heights. In this post, we will dig into the realm of in-memory caching with Apache Ignite and show how it works smoothly with Spring Boot to boost the performance, scalability, and responsiveness of your application.
Users expect lightning-fast experiences from apps in today's fast-paced digital world, whether they're retrieving data, performing transactions, or generating dynamic content. That's where Apache Ignite, a high-performance, distributed, and in-memory data grid, comes in. Ignite drastically decreases database round trips and processing costs by caching frequently requested data in memory, resulting in real-time results with very low latency.
Apache Ignite, in conjunction with the Spring Boot framework, provides a rich ecosystem for developing enterprise-grade applications capable of handling huge workloads while retaining high availability and fault tolerance. This blog series is intended to be your one-stop shop for learning Apache Ignite Caching with Spring Boot.
Pre-requisites
JDK8
Docker Client + Docker Hub Account. (Required for starting PostGres Locally)
PGAdmin (optional, client tool for PostgreSQL connectivity)
IDE of your choice. (We are using STS)
Postman (any REST client for test purposes)
What we will be doing
Bootstrap Spring Boot Application.
Running PostgreSQL as a Docker Service.
Connect Spring Boot Application to PostgreSQL.
Integrate Apache Ignite into Spring Boot Application.
Bootstrap Spring Boot Application
We will bootstrap the Spring Boot application with JDK8, Maven, and Spring Boot 2.7.14 along with the required dependency as below using Spring IO Intializr
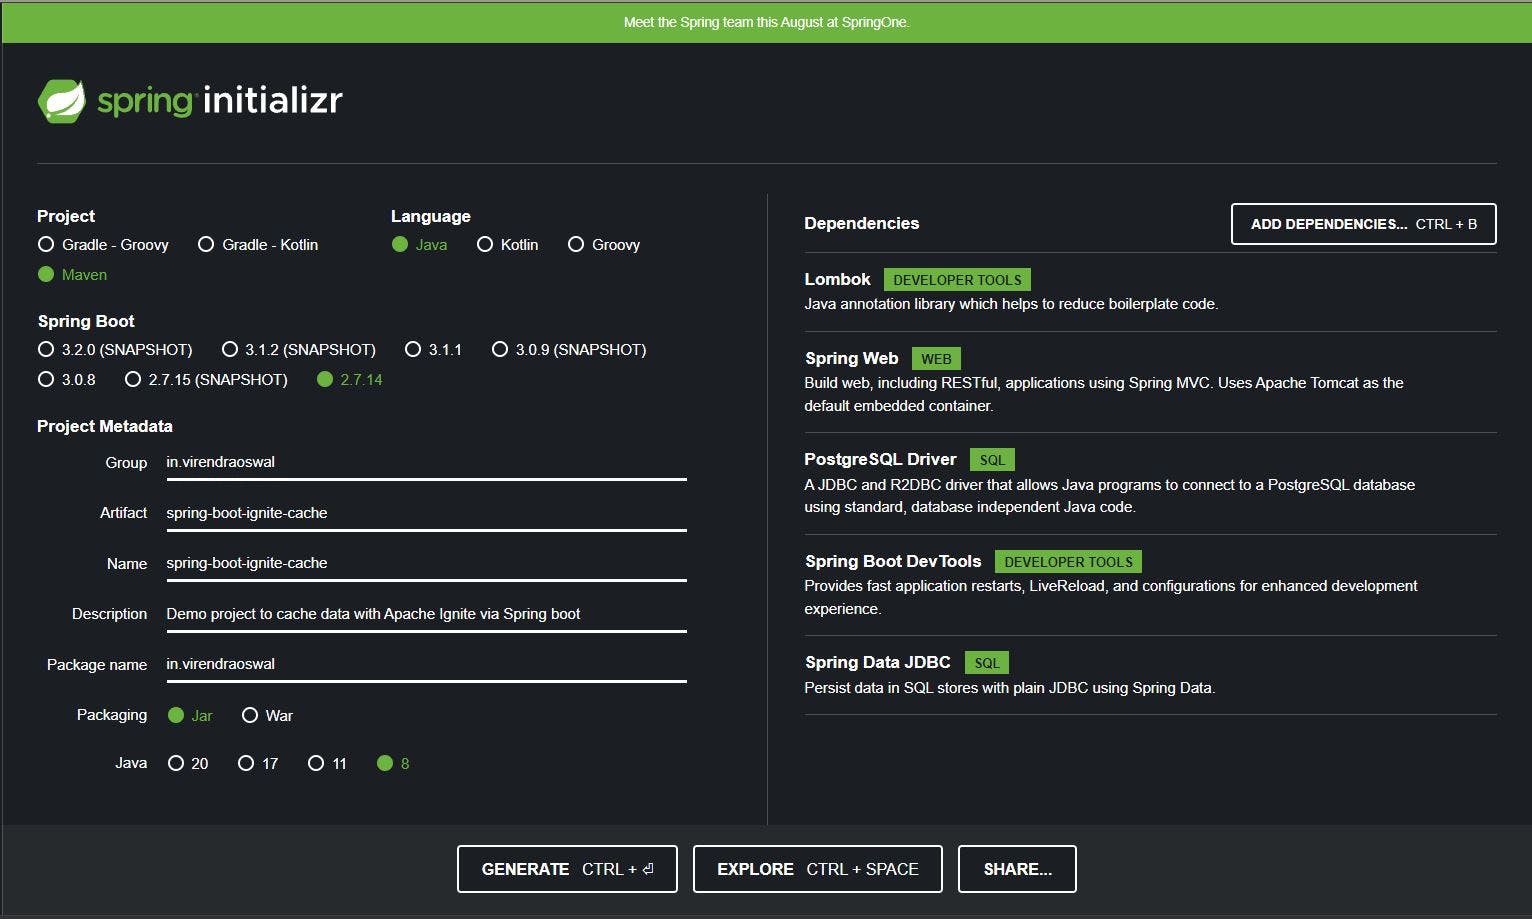
Dependencies Added
Lombok: To Reduce boilerplate code for Java Plain Objects.
Spring Web: For building RESTFul APIs.
PostgreSQL Driver: For connecting clients to PostgreSQL Server.
Spring Boot DevTools: Fast App Restarts and LIVE reload.
Spring Data JDBC: Play with underlying relational SQL Store.
Just generate the archive and import Maven Project into the IDE of your choice.
Postgres as a Docker Service
(You can use Postgres as a Service over Cloud too, in this case, we will be using Docker for ease of access and use.)
We will use Docker Image to run our PostgreSQL Database server. With docker, it's easy to set up and destroy without the overhead of manual setup.
We will fire the below docker command
docker run --name postgres_db -p 5432:5432 -e POSTGRES_USER=vo -e POSTGRES_PASSWORD=vo -e POSTGRES_DB=emp_db -d postgres
We will basically be pulling the Official Postgres Docker image and starting in Detached mode. More details about other parameters can be found here.
If successful, you can open Docker Desktop Application and verify as below to see the Container with the name postgres_db we provided as part of the Docker Run command as below

We can use docker ps command too

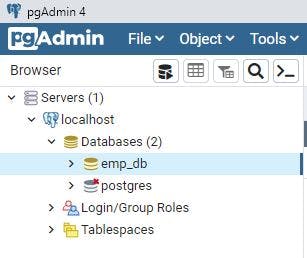
We will use PG Admin to connect to our newly created emp_db database and verify if all is good. Our connection to the database is good too as below
Connect Spring boot Application to PostgreSQL
Given we have our Postgres DB Server running, let's integrate and work with it in our Spring Boot Application.
First UP, we set up the configuration in application.properties for Data Source Auto Configuration to kick in.
Basic Data Source Configuration properties as below
spring.datasource.driver-class-name=org.postgresql.Driver
spring.datasource.url=jdbc:postgresql://localhost:5432/emp_db
spring.datasource.username=vo
spring.datasource.password=vo
This will help to create a Data Source object to play with our underlying Data Store which in this case is PostgreSQL.
We will also set the following properties, so our SQL is always run as a part of Spring Boot Application Initialization to create or drop required tables for development purposes
spring.sql.init.mode=always
This property is beneficial mostly only for development purposes.
We will also create schema.sql under src/main/resources which will be used for our Database Initialization purposes
drop table if exists employee;
create table if not exists employee
(
    id   serial primary key,
    name varchar(255) not null,
    department varchar(48) not null,
    salary integer
);
The idea is to just drop and create a table for every run of our Spring Boot app run. We will be playing with Employee Data Model hence Employee Table.
Our Employee Java Model (Employee.java) looks like below
@Getter
@Setter
@AllArgsConstructor
public class Employee {
    private Integer id, salary;
    private String name;
    private Department department;
}
Setting up Dummy Employee Data on Startup
As part of Cache testing, we will only use the Fetch part of things for now. So will set up 30k employee records in the database as part of the startup so that we can use that data for testing and eventually caching purpose.
NOTE: We won't be considering the performance of Inserts over here, the idea is to get some data in the database to play around with. We would have done some improvements around using Batch Inserts.
We will write the following dummy data generation method to save the number of rows that comes as an argument (in this case we will pass 30000) which will be called at startup.
We will be using Java Faker Open source Library to create Random/Fake First names and Salaries. Handy library for demo purposes, and easy to use.
We will add the below dependency for Java Faker
<dependency>
    <groupId>com.github.javafaker</groupId>
    <artifactId>javafaker</artifactId>
    <version>1.0.2</version>
</dependency>
Below code will help us to create employee data based on number of rows required in EmployeeRepository.java
@Override
@Transactional
public void saveAll(int numberOfRows) {
    for (int i = 0; i < numberOfRows; i++) {
        jdbcTemplate.update("INSERT INTO employee (name, department, salary) " + "VALUES (?, ?, ?)",
                faker.name().firstName(), departments[random.nextInt(3)].name(),
                faker.number().numberBetween(10000, 10000000));
    }
}
What we are doing here running a loop for the required number of Rows(30k in our case) to be inserted and inserting dummy data using Faker API. We also distribute employee data randomly across these departments so that we can use that later for fetch purpose and eventually cache it.
final Department[] departments = { Department.HR, Department.LEGAL, Department.FINANCE };
We will implement org.springframework.boot.ApplicationRunner to execute this code on the startup itself as below
@Component
public class StartupRunner implements ApplicationRunner {

    Logger LOG = LoggerFactory.getLogger(getClass());

    @Autowired
    EmployeeService _es;

    @Override
    public void run(ApplicationArguments args) throws Exception {
        LOG.info("[START] Saving Employee Data");
        _es.saveAll(30000);
        LOG.info("[END] Saving Employee Data");
    }
}
Voila! This will take care of saving dummy Employee Data to the PostgreSQL database on startup.
Fetching Data from Database
We will write a small fetch API to get Employee Data by Department so that later we can cache it. Fetch Employees by using the Department repository API.
@Override
public List<Employee> getEmployeesForDepartment(Department department) {
    LOG.info("Read data from database.");
    return jdbcTemplate.query("select * from employee where department = '" + department + "'",
            new EmployeeRowMapper());
}
EmployeeRowMapper.java
public class EmployeeRowMapper implements RowMapper<Employee> {
    @Override
    public Employee mapRow(ResultSet rs, int rowNum) throws SQLException {
        return new Employee(rs.getInt("id"), rs.getInt("salary"), rs.getString("name"),
                Department.valueOf(rs.getString("department")));
    }
}
We will also expose a REST API so we can access this over HTTP endpoint
@RestController
public class EmployeeController {

    @Autowired
    EmployeeService _es;

    @GetMapping(path = "/deparment/employees/{department}")
    public List<Employee> getEmployeesForDepartment(@PathVariable("department") Department department) {
        return _es.getEmployeesForDepartment(department);
    }
}
We will start the app, and as per the startup Application Runner class we will insert 30k records into a database, the same can be verified from the PGAdmin tool.

We can take quick glance at random data generated too
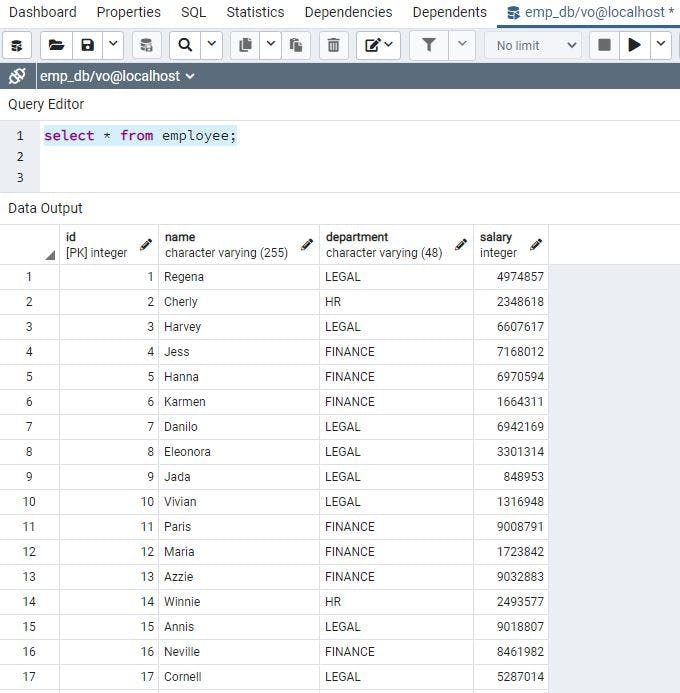
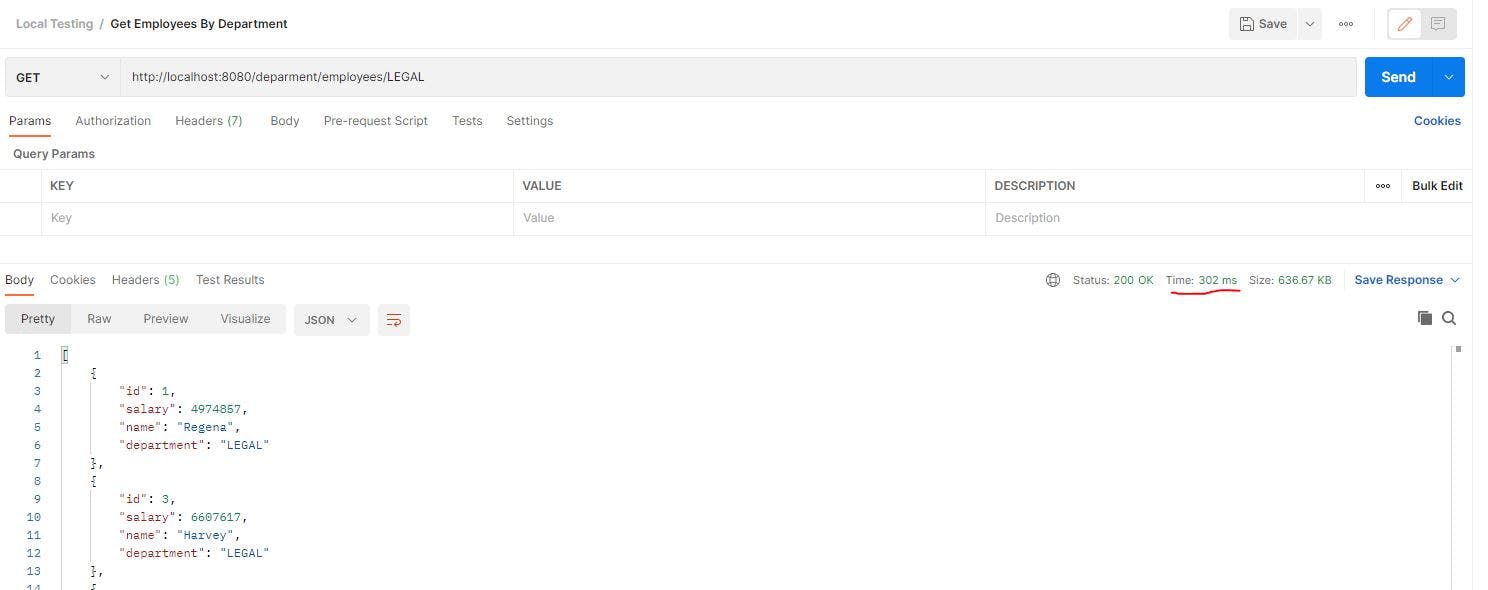
Now we can hit API we exposed via Postman, you can use the REST client of your choice too, as we can see it takes around 300ms. (Data is not much so the time taken is not ideal to put cache, but the idea is to demonstrate the use of Cache reducing overall time further)
Voila! We have covered all required PostgreSQL integration in our application, we will now setup Apache Ignite Cache for GET calls in the next section.
Apache Ignite Integration
The Spring Cache abstraction provides an annotation-based technique for enabling caching for Java methods, storing the result of method execution in external cache storage.
If the same method is called later with the same set of argument values, the result will be fetched from the cache rather than being executed. With Spring Cache Abstraction it's easy to build a loosely coupled Cache layer and migration of Cache framework if required.
Setup Cache Configuration
The ignite-spring-cache-ext extension in Apache Ignite allows you to utilize Apache Ignite Cache as external storage for the Spring Cache abstraction. The integration described above is accomplished by supplying implementations of the CacheManager Spring interface.
We will first bring in the required Dependencies for Apache Ignite integration with the Spring framework. We will be using Apache Ignite v2.12.0 for demo purposes, though we have the latest v2.15.0
<dependency>
    <groupId>org.apache.ignite</groupId>
    <artifactId>ignite-spring-cache-ext</artifactId>
    <version>${ignite-spring-cache-ext.version}</version>
</dependency>
<dependency>
    <groupId>org.apache.ignite</groupId>
    <artifactId>ignite-core</artifactId>
    <version>${ignite.version}</version>
</dependency>
<dependency>
    <groupId>org.apache.ignite</groupId>
    <artifactId>ignite-spring</artifactId>
    <version>${ignite.version}</version>
    <exclusions>
        <exclusion>
            <groupId>org.springframework</groupId>
            <artifactId>spring-context</artifactId>
        </exclusion>
    </exclusions>
</dependency>
<dependency>
    <groupId>com.h2database</groupId>
    <artifactId>h2</artifactId>
    <version>1.4.197</version>
</dependency>
Properties holder for the version for an above dependency
<properties>
    <java.version>8</java.version>
    <ignite-spring-cache-ext.version>1.0.0</ignite-spring-cache-ext.version>
    <ignite.version>2.12.0</ignite.version>
</properties>
Post importing of dependencies, we will just set up Ignite Configuration by Inject Cache Manager. There are multiple ways to configure Apache Ignite Configuration, we use the Java way of doing things over XML way. (We will also go with the embedded way of Starting Ignite Server Node for demo purposes.)
The following configuration is the bare minimum required to Enable Ignite Cache in Spring, too easy eh?
IgniteCacheConfig.java
@Configuration
@EnableCaching
public class IgniteCacheConfig {

    @Bean
    public SpringCacheManager cacheManager() {
        SpringCacheManager mgr = new SpringCacheManager();
        mgr.setConfiguration(new IgniteConfiguration().setIgniteInstanceName("Ignite Cache Node").setMetricsLogFrequency(0));
        return mgr;
    }
}
We are just injecting Apache Ignite Config with its name and disabling Metrics Log which keeps printing in Logs to avoid quick rollover. We can do additional configurations like setting up the Cache region ahead of time, etc. But in this case, if Cache is not present Spring will be dynamically created on the fly.
That's it for Apache Ignite Configuration. We now just need to use Spring Cache Annotations to cache the data.
When we start an application now, we will see a lot of Apache Ignite relation information being logged, one such important log is related to topology which specifies the number of nodes being up as below which determines the successful start of Apache Ignite node in Embedded Server mode.
>>> +-----------------------------------------------------------------------+
>>> Ignite ver. 2.12.0#20220108-sha1:b1289f75c7b06127286bde7ce8150e1e7a08b2d2
>>> +-----------------------------------------------------------------------+
>>> OS name: Windows 10 10.0 amd64
>>> CPU(s): 16
>>> Heap: 3.5GB
>>> VM name: 12480@DESKTOP-DM7NIMB
>>> Ignite instance name: Ignite Cache Node
>>> Local node [ID=FF3BF0E3-C975-4A86-85D0-3378C284B005, order=1, clientMode=false]
>>> Local ports: TCP:10800 TCP:11211 TCP:47100 UDP:47400 TCP:47500

[11:22:17] Topology snapshot [ver=1, locNode=ff3bf0e3, servers=1, clients=0, state=ACTIVE, CPUs=16, offheap=3.2GB, heap=3.5GB]
[11:22:17]   ^-- Baseline [id=0, size=1, online=1, offline=0]
Enable Caching on Fetching Data
We will use @Cacheable annotation provided by Spring Cache to cache data. Caching behavior will be implemented each time an advised method is used, verifying whether the method has previously been executed for the supplied parameters.
We will put an annotation @Cacheable with the value of employee which will act as a Cache Region and the key here by default will be the input parameter unless otherwise specific by key parameter on @Cacheable annotation.
@Override
@Cacheable(value = "employee")
public List<Employee> getEmployeesForDepartment(Department department) {
    LOG.info("Read data from database.");
    return jdbcTemplate.query("select * from employee where department = '" + department + "'",
            new EmployeeRowMapper());
}
Implementation is pretty straightforward, a first-time call will hit the data-outputting log event Read data from database to Console, next time onwards data will be served from In Memory cache.
We will start up our application again, and we re-insert 30k records in our database.
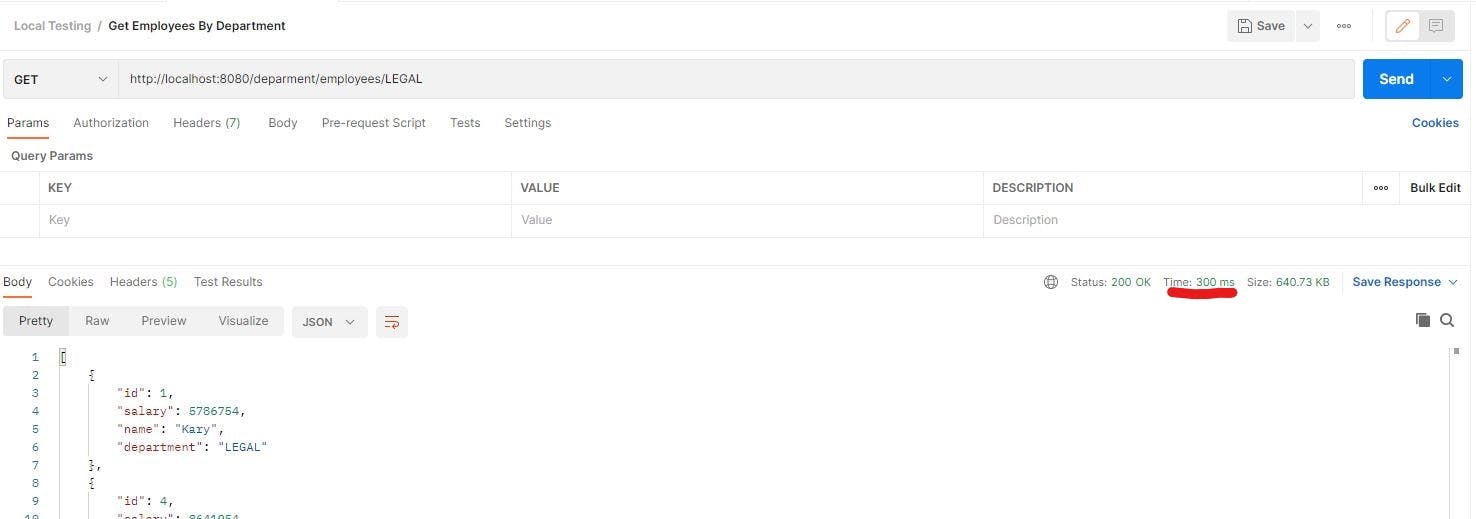
We will re-hit the Postman request again, first call will go to the database as usual as the in-memory Cache doesn't have data.
When we hit the URL first time, which eventually hits the repository method annotated with @Cacheable it will check if data exists in Cache out of the box if not first it will retrieve data from Database, store it in Cache with the name employee and return the result.
Time taken is again around 300ms from the database
Now if we keep hitting URL again now, we will see data is returned in just 25-30ms which is 10x faster than the original DB retrieve time of 300ms. No log event with Read data from database is logged too proving data is retrieved from Ignite Cache.
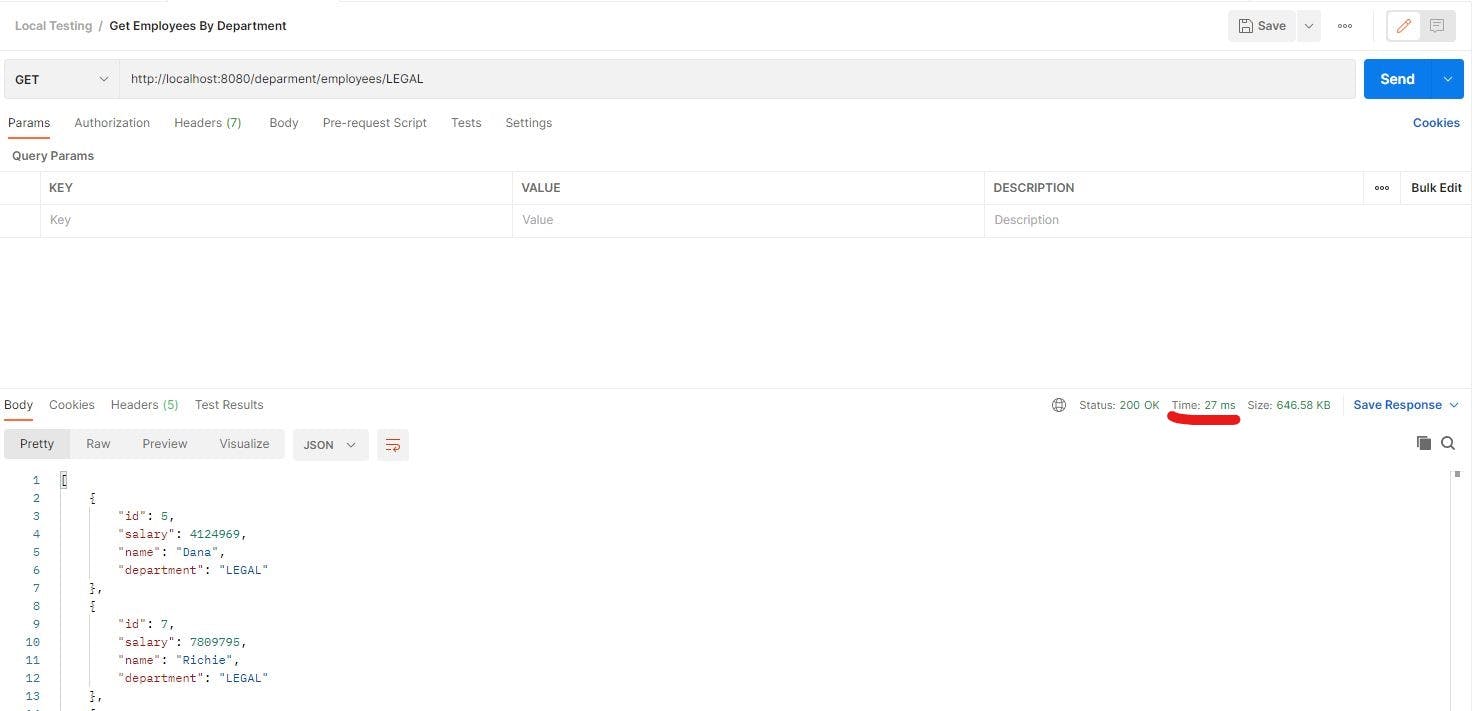
Voila! Our Apache Ignite Cache setup is working perfectly.
@Cacheable is just one annotation provided by Spring Cache Abstraction which deals with fetching data, others such as @CacheEvict and @CachePut can be used for Deletion and Insert/Update functionality respectively. (Will cover other annotations in the next article)
There are a lot of other Apache Ignite Configurations we can optimize, details for the same are shared via the Link below section.
Resources
Thank you for reading, If you have reached it so far, please like the article, It will encourage me to write more such articles. Do share your valuable suggestions, I appreciate your honest feedback and suggestions!